Quickstart
This guide walks you through signing up, creating a template, configuring adapters, and deploying your first autonomous agent.Key Concepts
Before diving in, here’s how Bedrock is structured:- Organization — Your top-level tenant. Holds your users, LLM provider keys, and API keys.
- AgentTemplate — A named blueprint with a system prompt, default model, and an adapter set. New agents are stamped from templates and snapshot the config at creation time.
- Agent — A running instance deployed from a template as a standalone autonomous AI. Each agent has its own adapter state.
- Adapter — An integration module (SMS, Email, Browser, etc.) attached to a template via an
AdapterConfig.
Step 1: Sign Up
Go to bedrock.orinlabs.org/signup and create your account. You’ll need:- An organization name (your company or project)
- An email and password
Step 2: Add Your LLM Provider Keys
From the Settings page, add your Anthropic API Key and/or OpenAI API Key. Bedrock uses these to make LLM calls on behalf of every agent in your organization.Step 3: Create a Template
From the Templates page, click + New Template. Give it a name (e.g., “Personal Assistant”) and click Create.
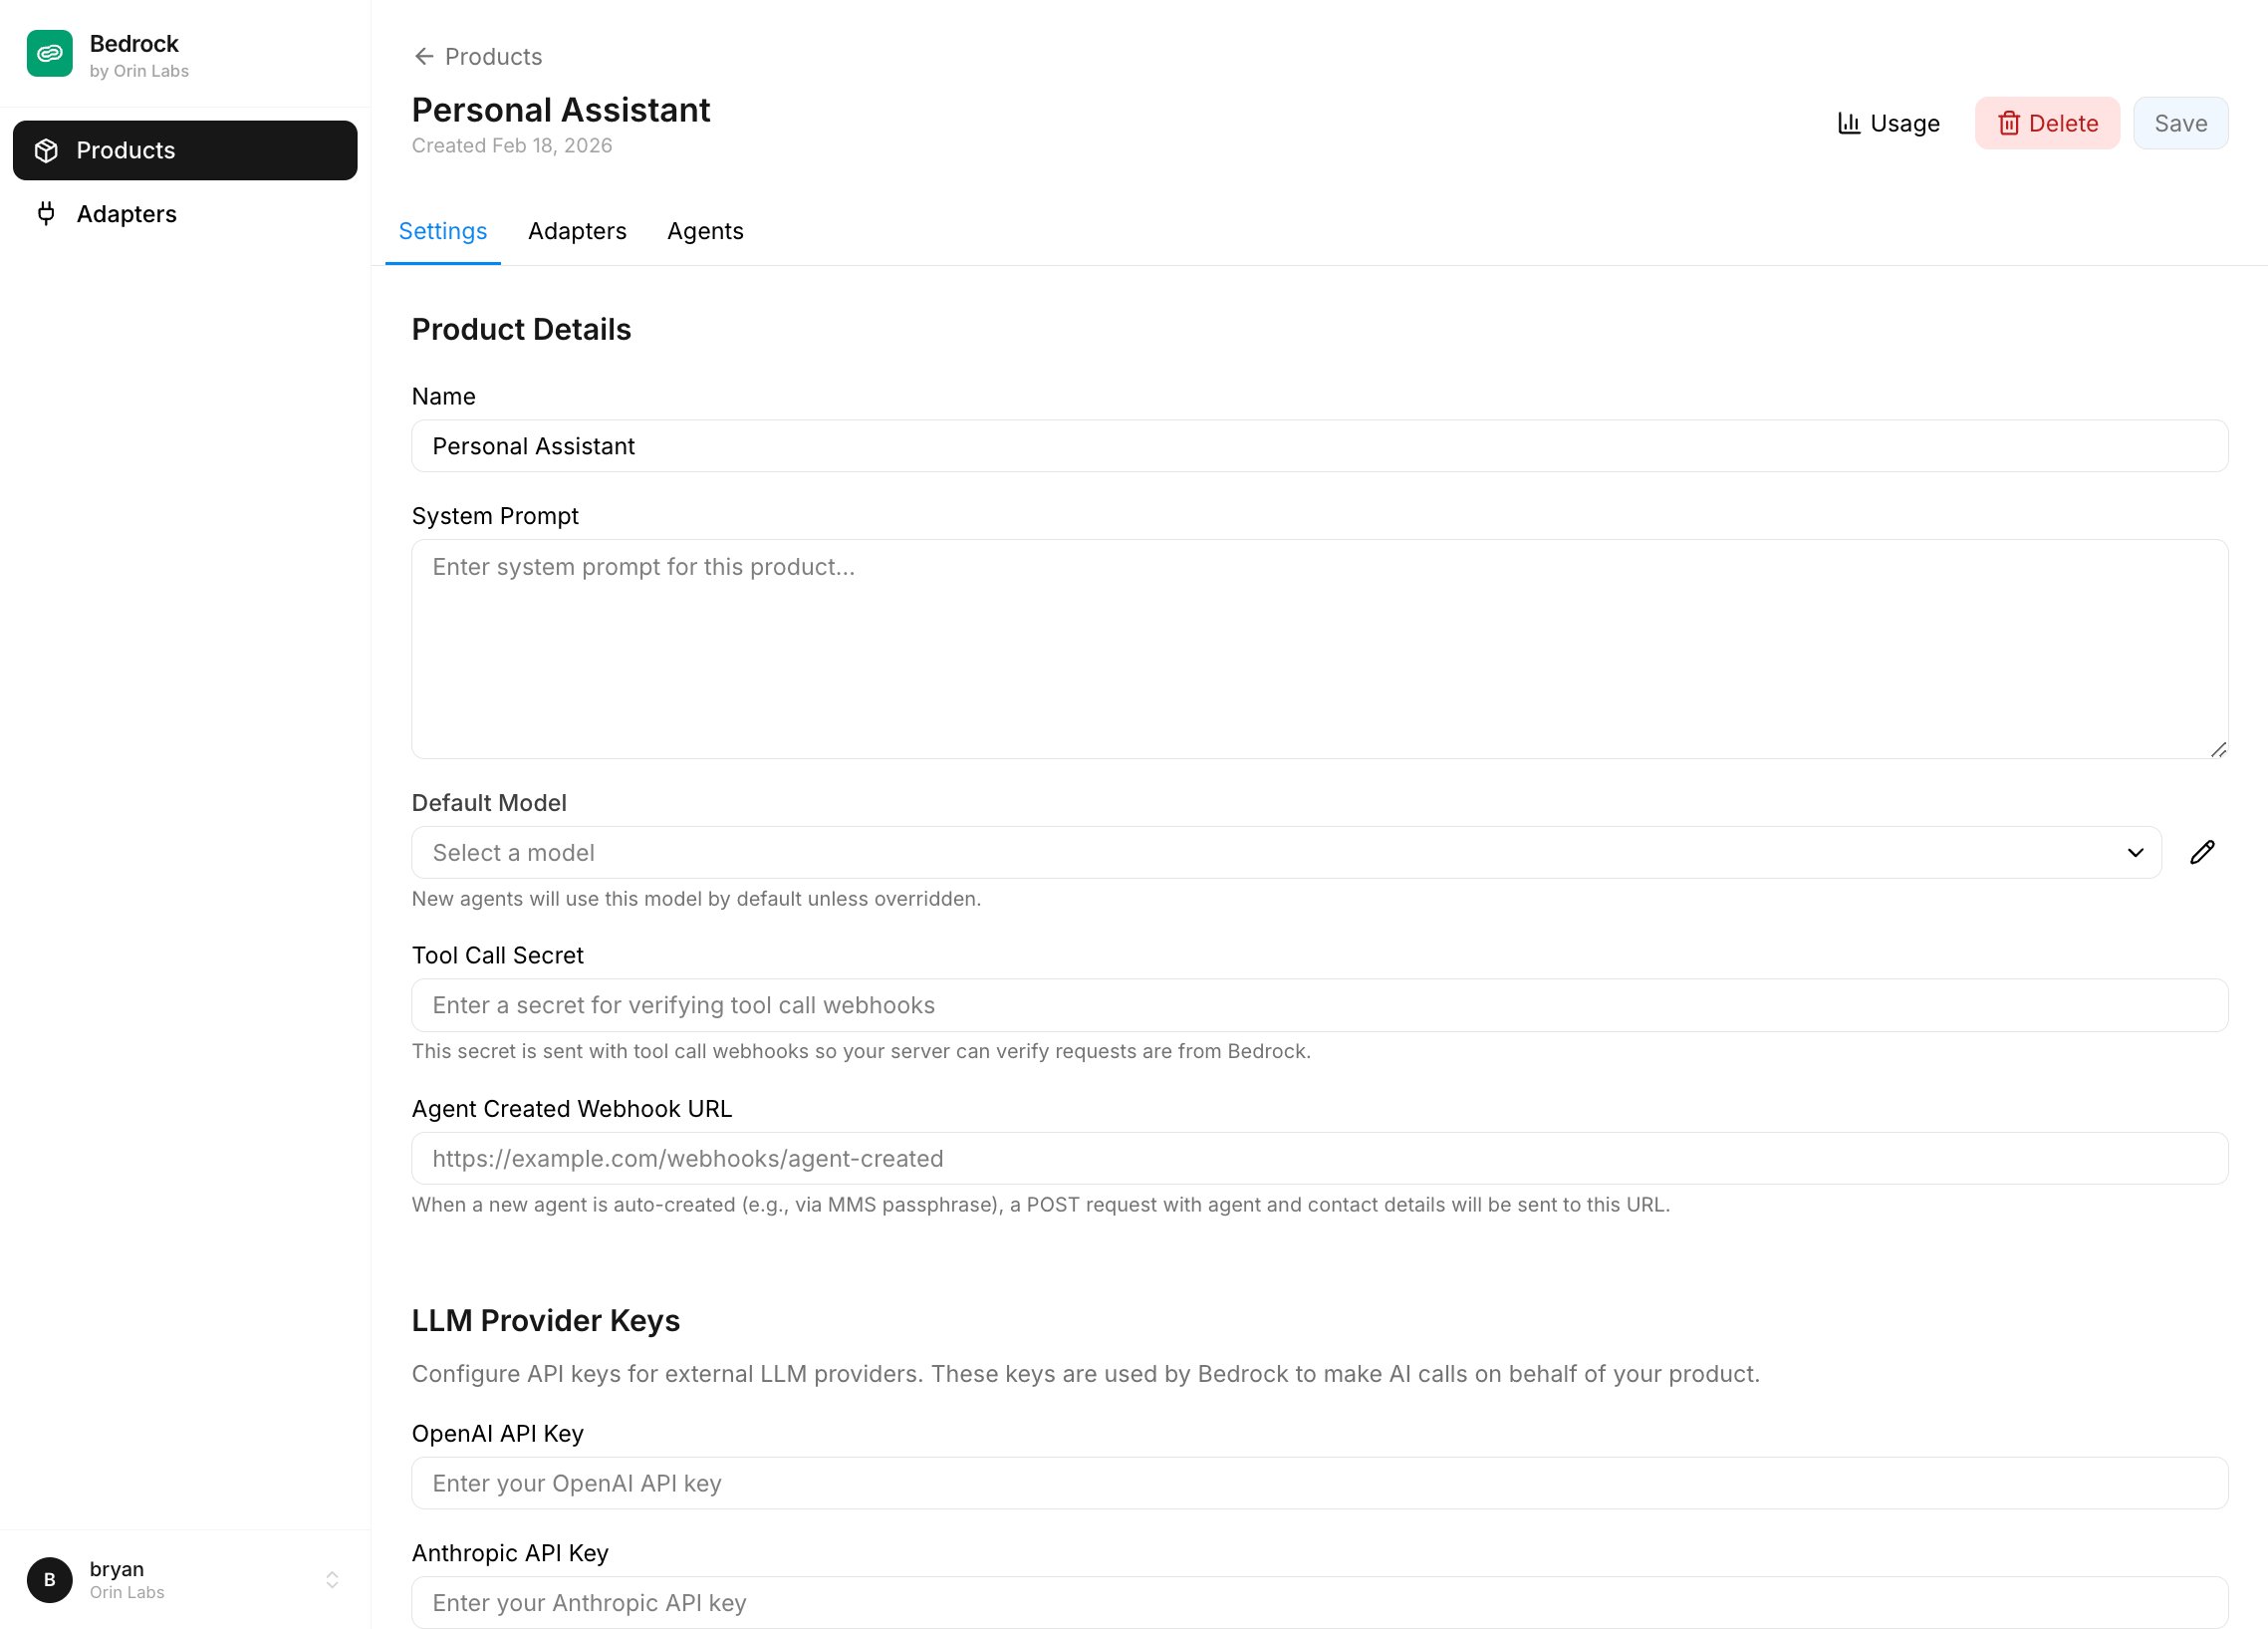
- System Prompt — The base instructions for all agents created from this template. Defines personality and behavior.
- Default Model — The LLM model new agents will use (e.g.,
claude-sonnet-4-5,gpt-4o). - Harness Git Ref — Branch, tag, or commit SHA of
bedrock-harnessto check out at dispatch time. Blank means latestmain. - Tool Call Secret — Sent as
X-Agent-Secreton every webhook tool call so your server can verify requests came from Bedrock. - Agent Created Webhook URL — Optional; hit with agent + contact details whenever a new agent is auto-created from this template (e.g. by an inbound MMS passphrase flow).
Step 4: Create an API Key
Go to the API Keys page. Click Create API Key, give it a name (e.g., “Production”), and copy the key immediately — it’s only shown once. Organization API keys work for every resource owned by your organization: templates, agents, adapters, tracing, and the default adapter state endpoints.Step 5: Add Adapters to the Template
On the template page, switch to the Adapters tab. You’ll see a list of adapters available to your organization with a toggle to enable each one.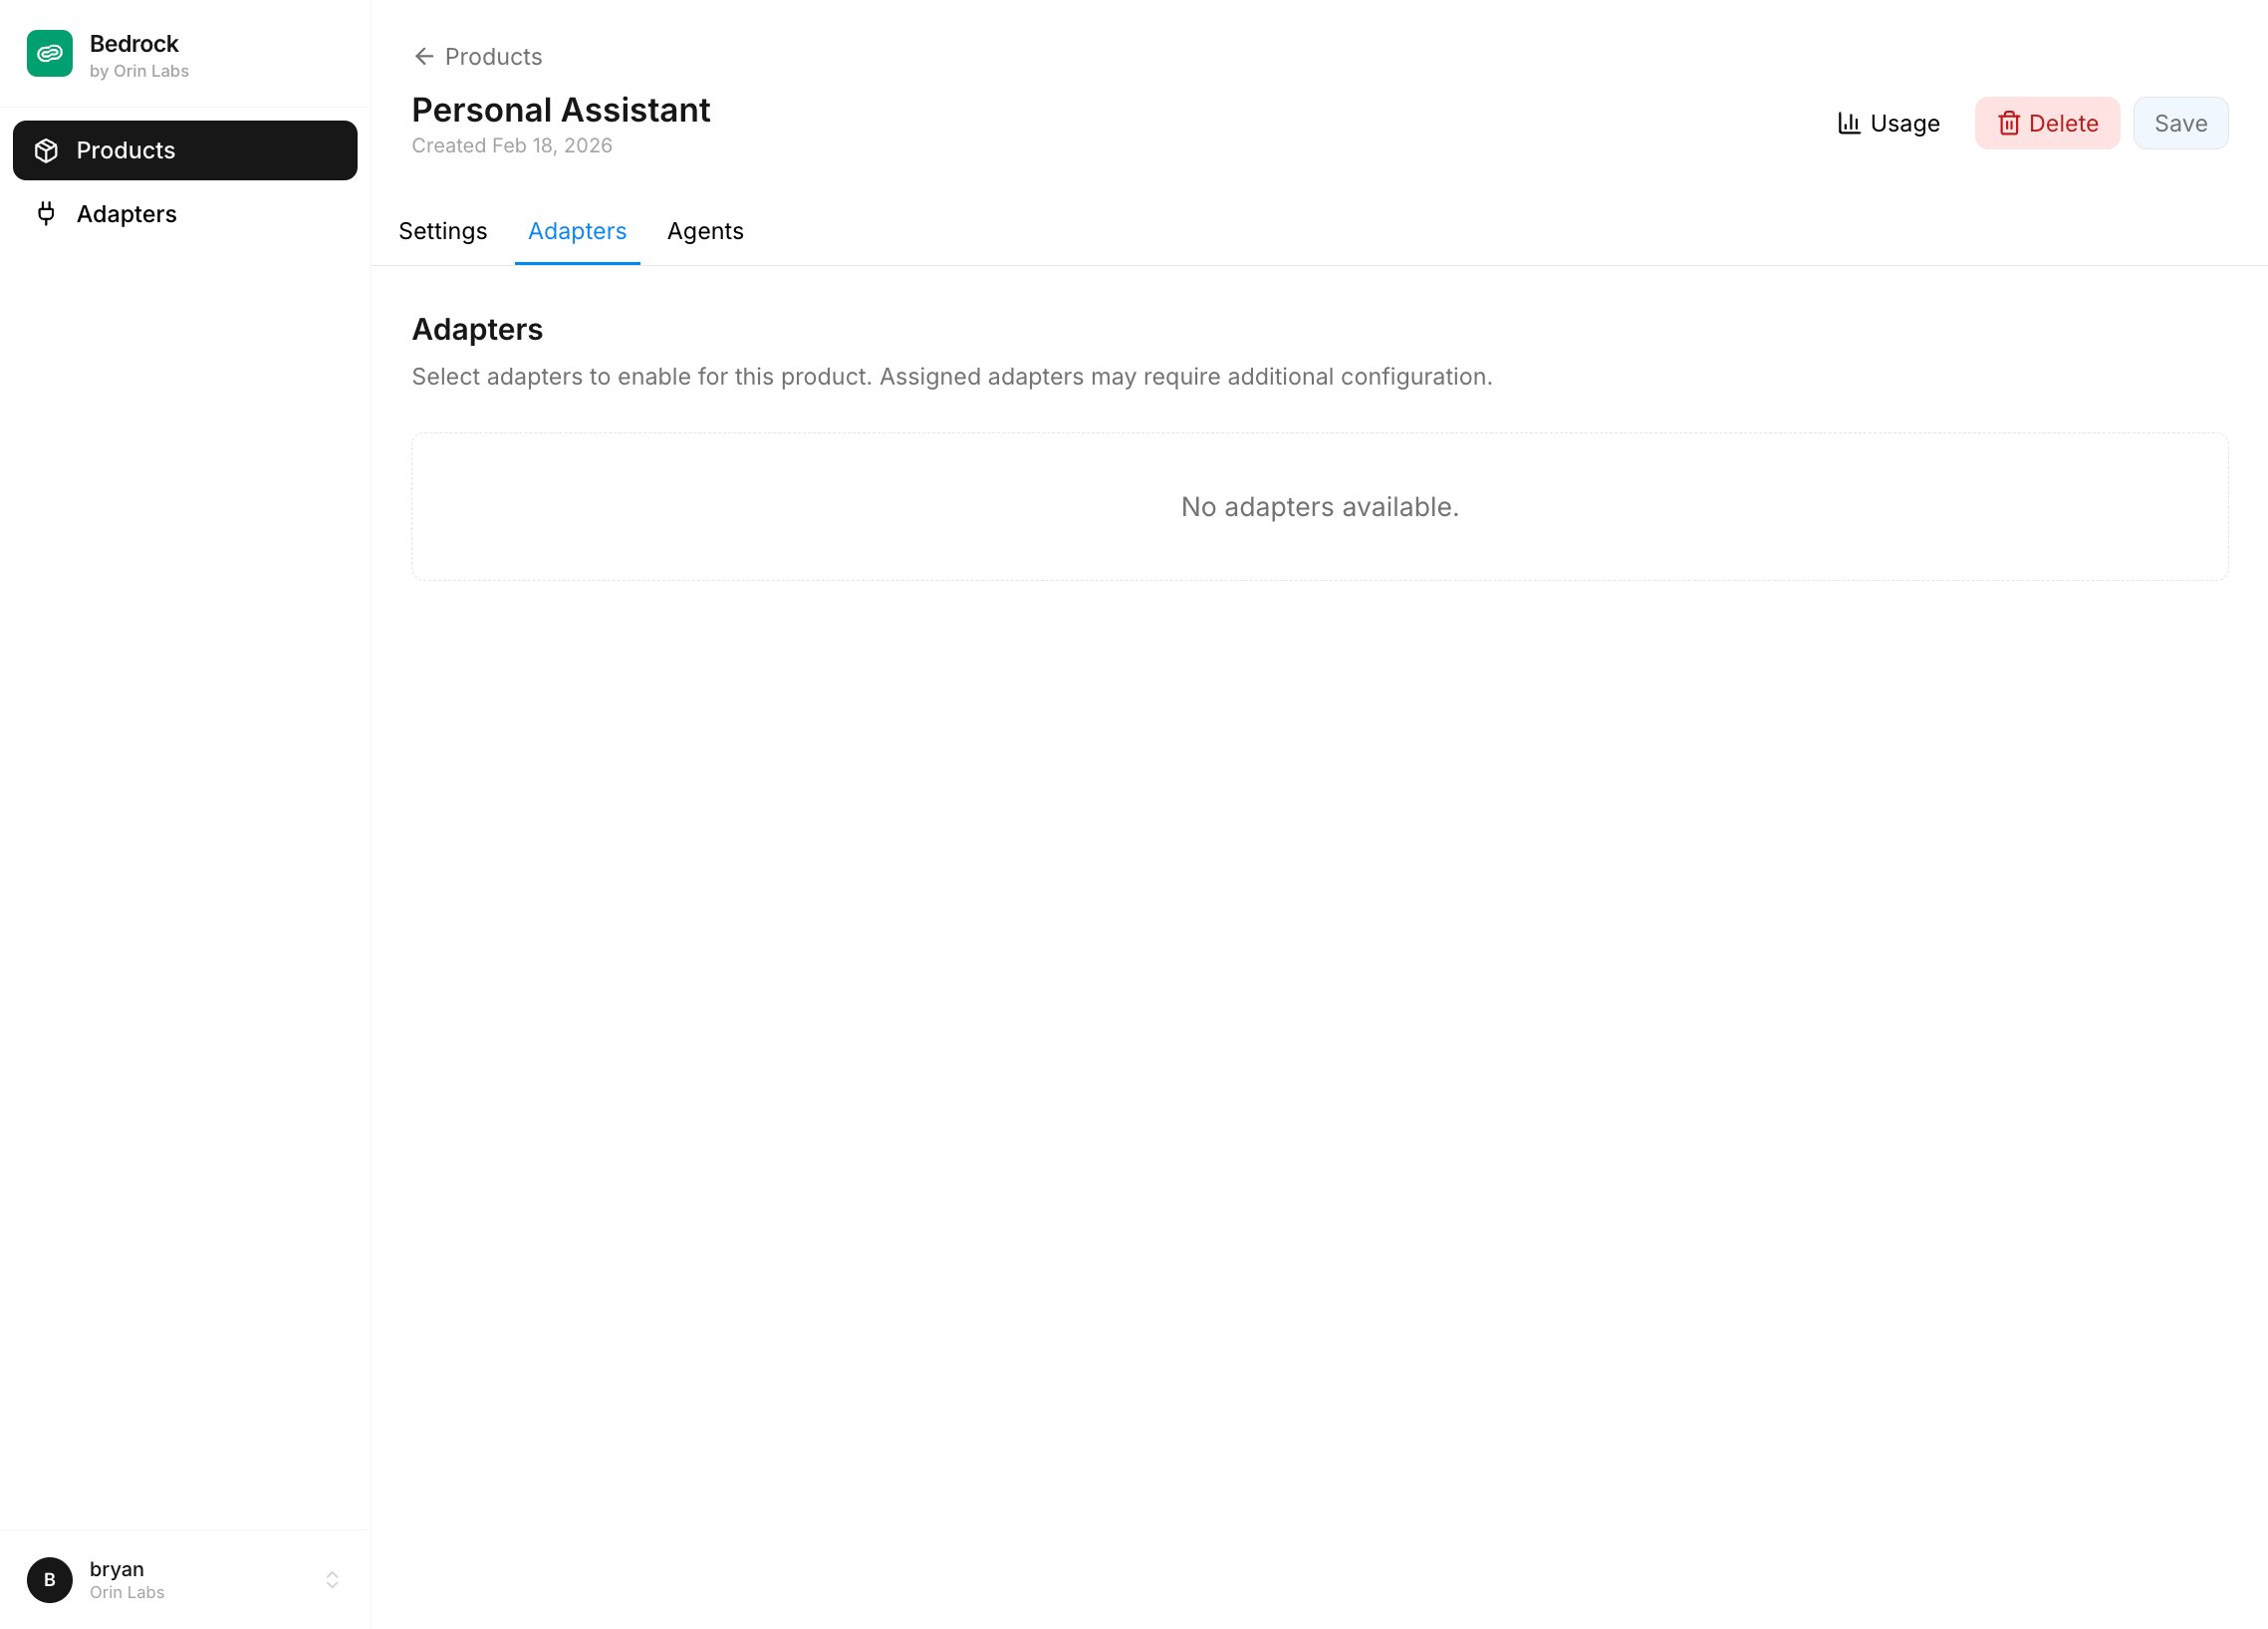
- SMS requires a Twilio
phone_number(and optionallytwilio_account_sid/twilio_auth_token) - Email requires an
agentmail_domain(and optionallyagentmail_api_key)
Step 6: Deploy an Agent
Agents are instances of a template. Each one snapshots the template’s prompt, model, and adapter configs at creation time, then owns its own copy. You can see and manage agents from the Agents page.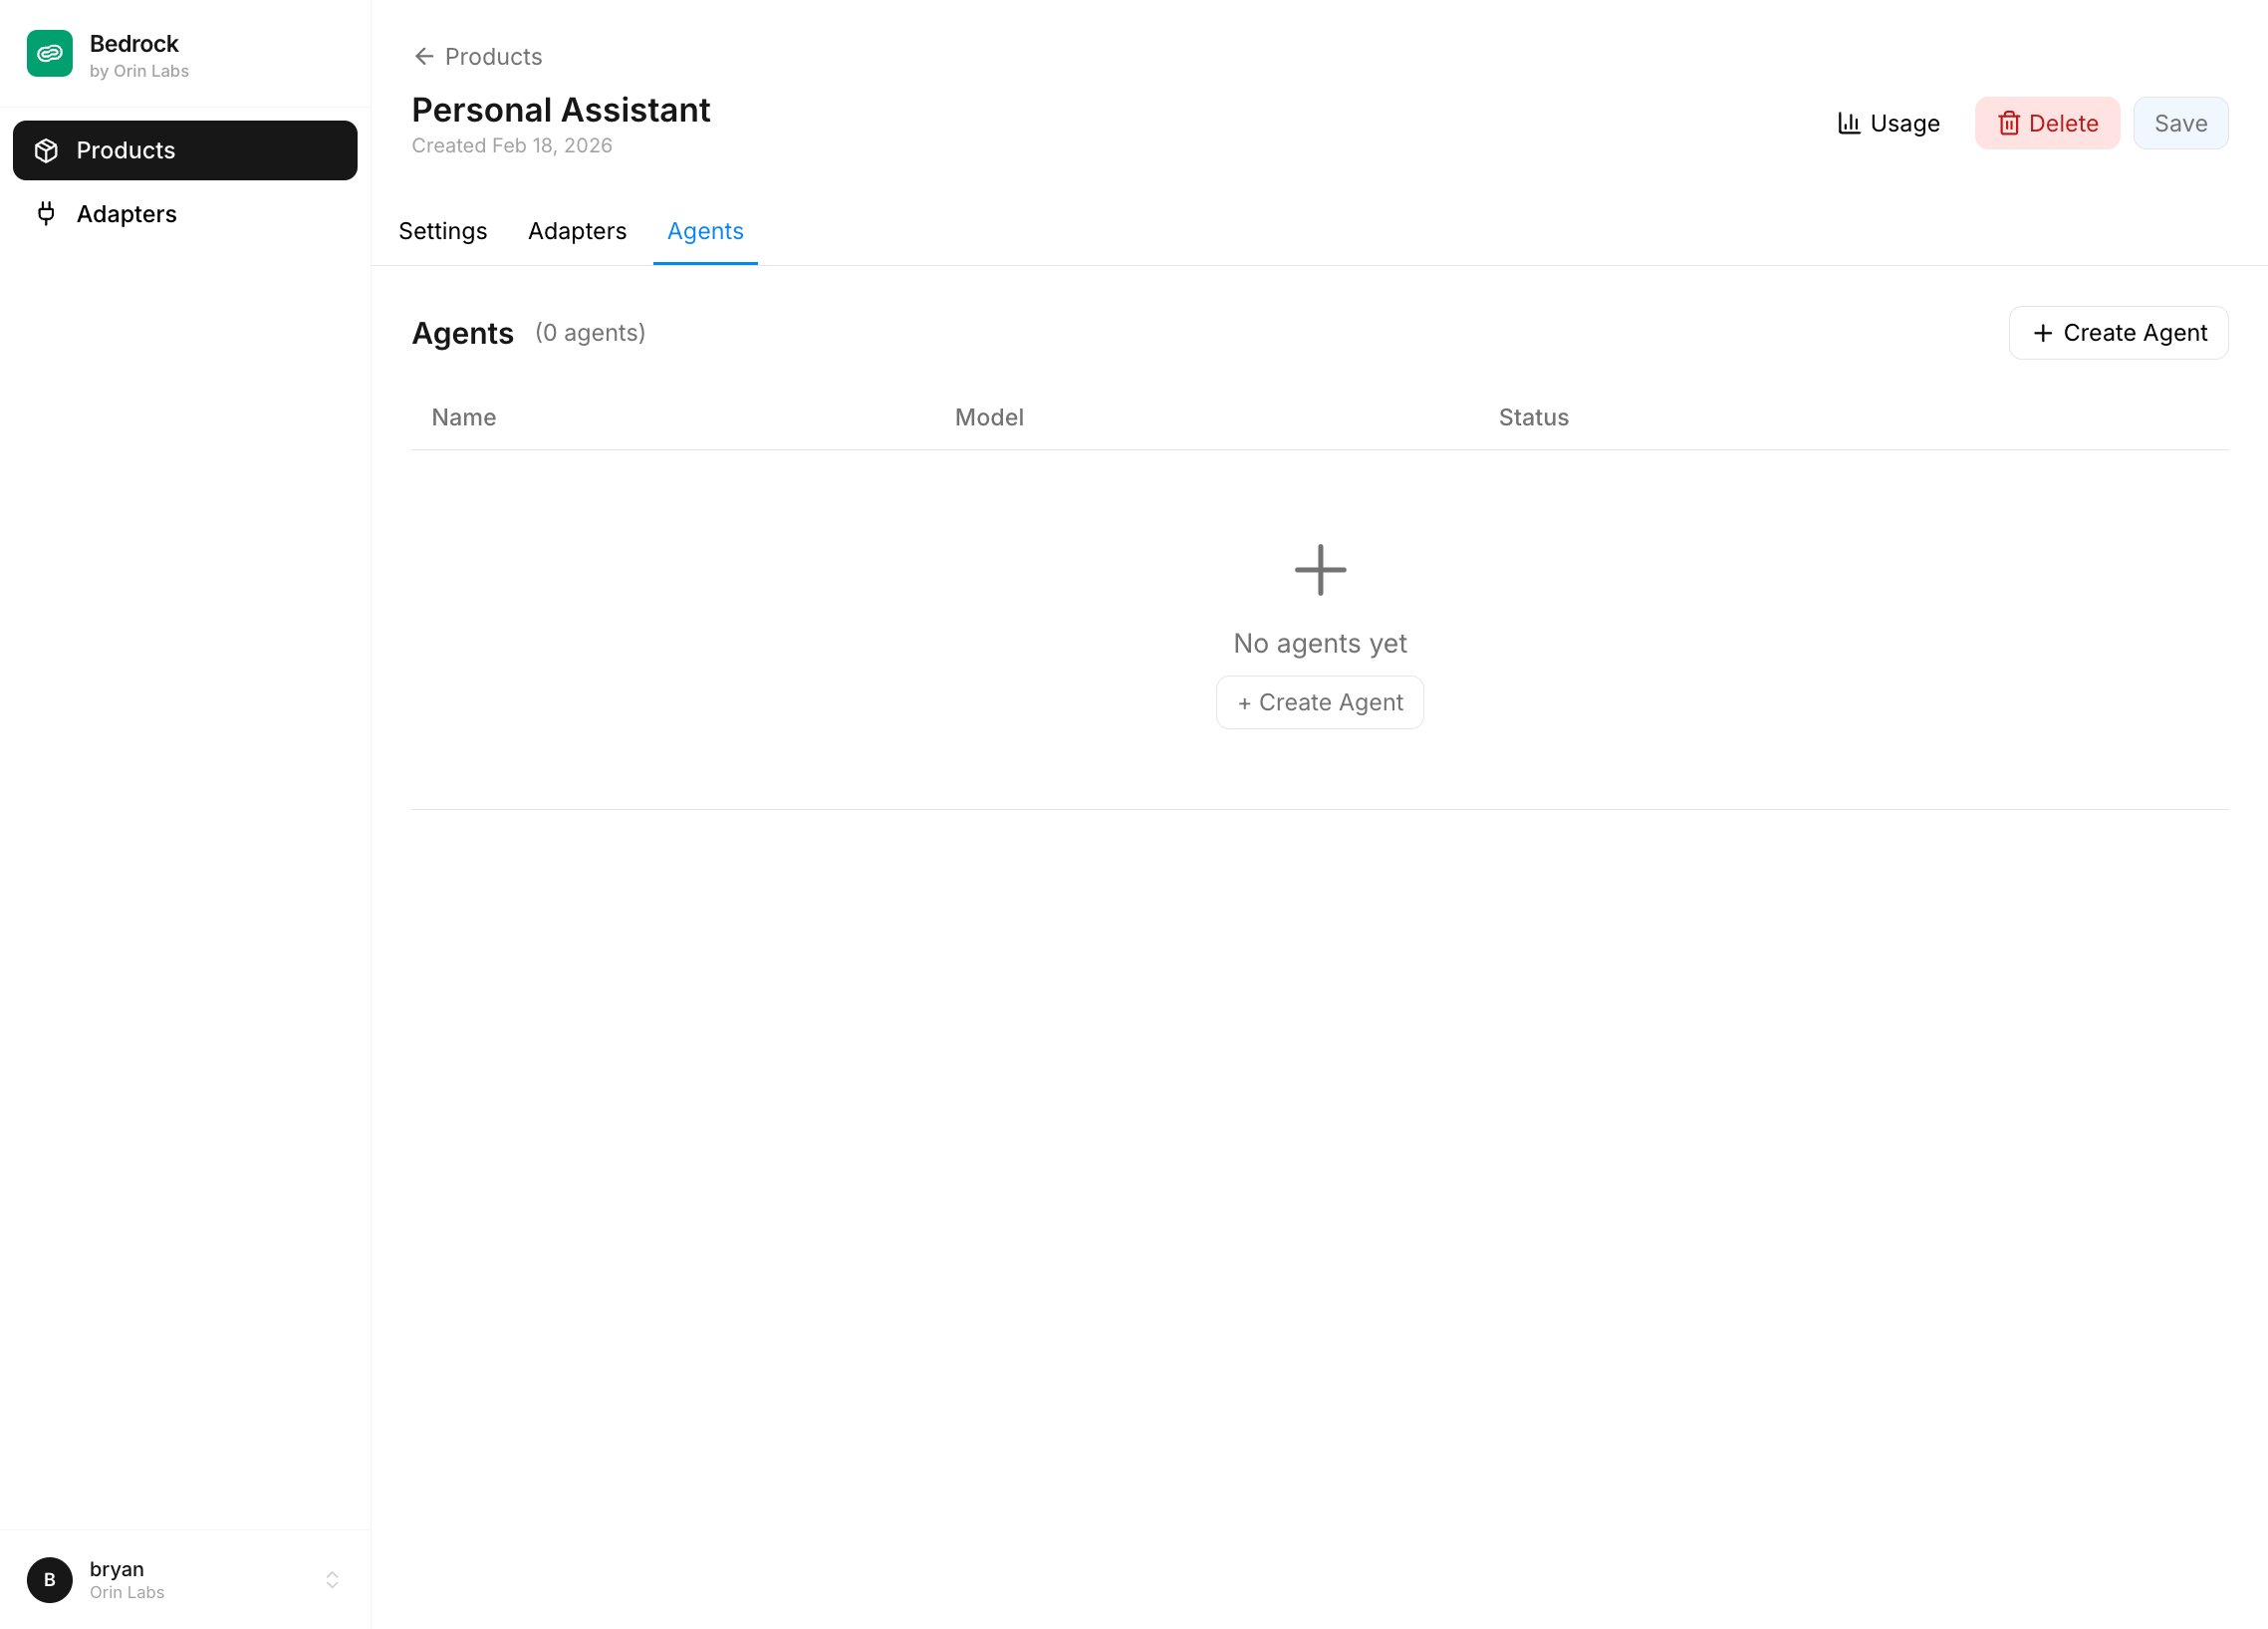
system_prompt, default_model, adapter set, and per-adapter configs. You can also create agents from the portal by going to the Agents page and clicking Create Agent.
You can override the template’s adapters on a specific agent by passing an
adapters array of adapter names or IDs.Step 7: Run the Agent
Wake the agent to start its autonomous loop:- Check its notifications and tools for new information
- Take any necessary actions (send messages, create projects, etc.)
- Sleep when there’s nothing to do
- Automatically wake when new messages arrive or at its scheduled time
Step 8: Notify the Agent
Create a high-priority notification to give the agent work:Step 9: Monitor with Traces
Every run writes a top-levelTrace with nested spans for every LLM call, tool call, and checkpoint. See exactly what the agent did:
What’s Next?
Configure SMS
Set up Twilio to send/receive text messages
Custom Adapters
Connect agents to your own APIs
Track Usage
Monitor costs and debug issues